- Continue Shopping
- Your Cart is Empty
How to Create Your DIY Wedding Dessert Table
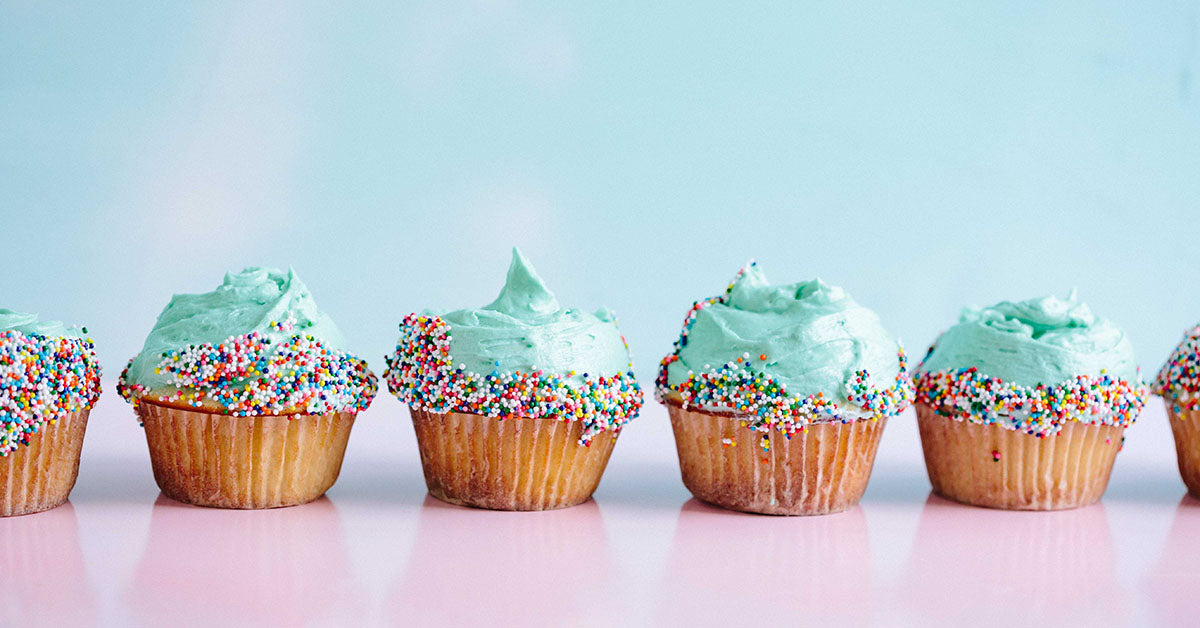
Nothing quite brings out the oohs, aahs, and drools at a wedding like a beautifully done dessert table. This nirvana of a spread has been a mainstay in modern weddings for years now, so much so that some couples would forego the traditional wedding cake for a huge selection of treats instead.
While it looks a little overwhelming, a dessert table is actually very doable. Whether you’re a bride on a budget or an eager craft maker, this DIY guide to creating your wedding dessert table will take you through the process.
Decide on a Theme
Just like every other element in your wedding, dessert tables look so put together because they follow a particular theme. More often than not, the theme takes after your overall wedding motif, from decor, to color palette, to textures used.
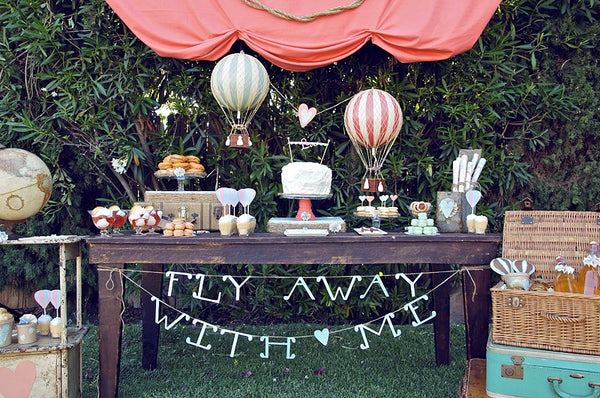
Having a travel-inspired wedding theme? Use a small suitcase as a cake stand, pop a hot air balloon or airplane toppers to your cupcakes, and serve some cloud sugar cookies.
It need not be that grand, of course. So long as there’s a theme, like a simple floral garden motif, your dessert table should look cohesive.
Create Your Dessert Menu
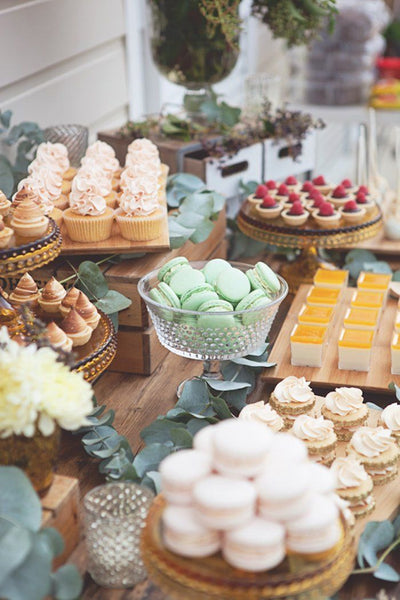
Everybody’s favorite part and the entire point of a dessert table in the first place is a good selection of sweets and treats for your guests. Here are some key reminders when creating your own dessert menu:
- Include at least six types of desserts for variety - Make sure it is an equal mix of store-bought treats like chocolate candies and wafers (to make it easy on you) and homemade treats like cupcakes and donuts (because they’re more enjoyable!). If you think it fits your dessert table, add fresh fruits as well.
- Match your desserts to the anticipated temperature - Case in point: it’s not ideal to serve candies that easily melt for an outdoor wedding in the warm summer season.
- Size matters - You would not want your food to go to waste or be left untouched, so make sure you prepare bite-sized treats for your guests. Pre-cutting your cakes, or better yet, preparing individual treats like donuts instead, will make for a quicker serving.
While we’re on that, bulky items (larger chocolate balls or wafers, for instance) will fill up vessels easier.
Pick Your Vessels
Your vessels do more than simply being something for your treats to sit on. Just like additional decorations, the right vessels will create the visual impact to guests.
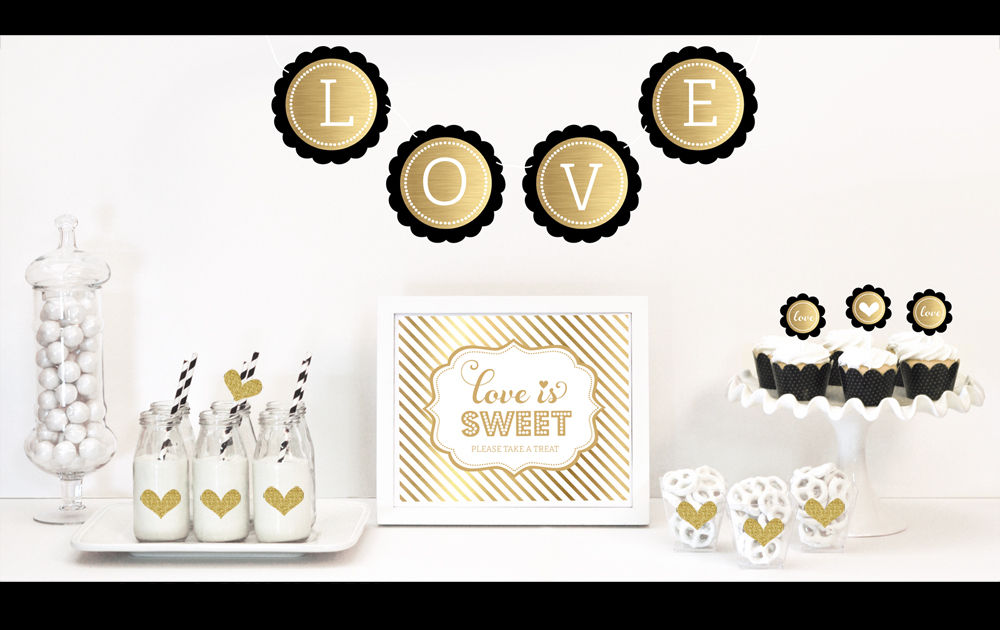
To start with, if you’re having a romantic theme, choose vessels with curved or scalloped edges to match. Straight and angled edges would be more appropriate for more contemporary motifs. Wooden vessels, such as wooden plates and cake stands, work best for rustic wedding parties.
Another important thing to note is the transparency of jars. Ever wondered why many dessert tables utilize mason jars for beverages or tall glass jars for candies? The transparency adds to the appetizing look of the treats.
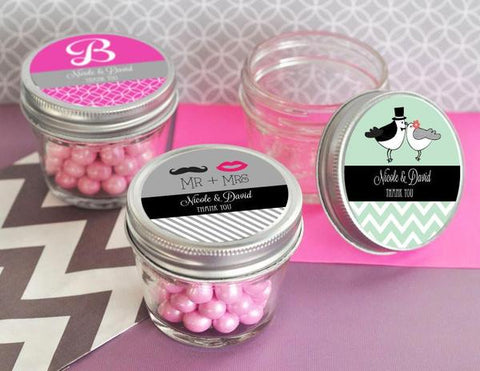
Personalized Mini Mason Jars ($1.66 - $2.00)
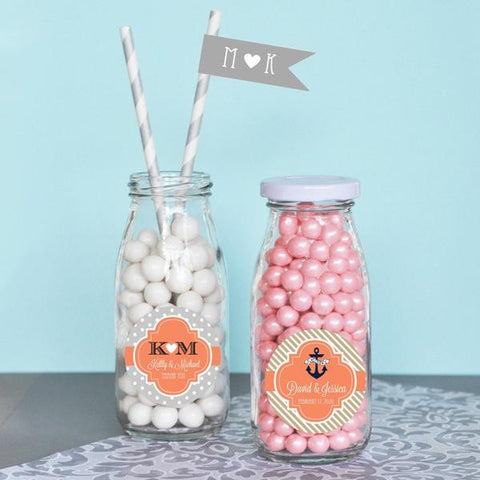
Personalized Mini Milk Bottles ($1.75 - $2.30)
Finally, it’s important to add height to your dessert table. So go ahead and utilize cake stands, candle holders, or anything else that will add a vertical dimension to your candy buffet.
Don’t Forget the Signage
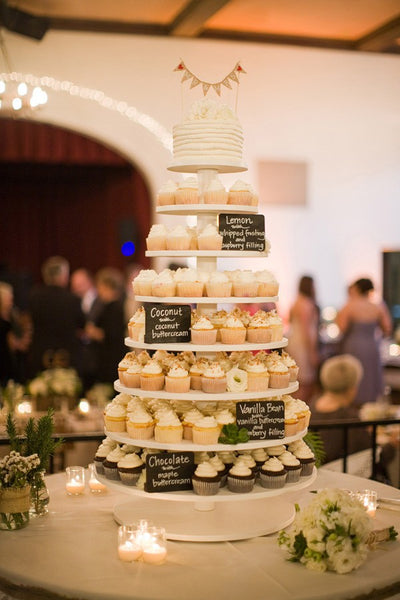
By Jen Rodriguez via Ruffled Blog
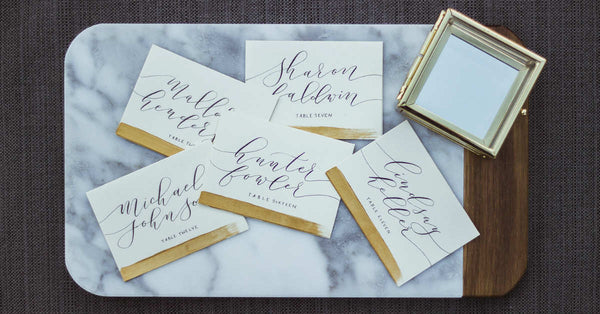
Whether or not you’re serving up unusual desserts, you would want guests to know what exactly they’re gonna be digging in. After all, an oatmeal raisin cookie can be mistaken as a chocolate chip cookie. And nobody can immediately tell what kind of white cupcakes you are serving, or what fruits are hiding in your pie.
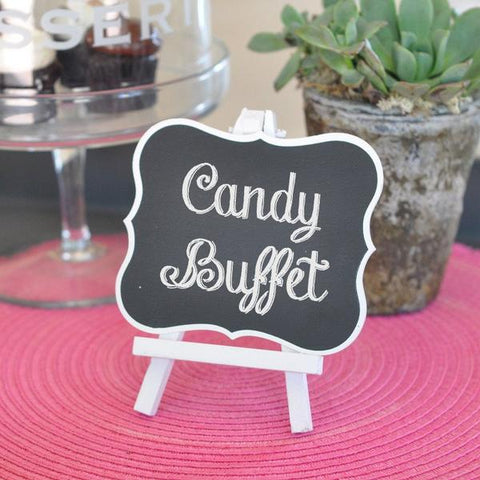
So put the correct signage up. Have fun with the design, too!
Set Up The Table and Decorate
Just like your wedding cake and wedding dress, the landscape of your dessert table, while not entirely edible, is something guests will take pictures of and talk about during—and after!—your wedding. Decorate as much as you want, starting with the table itself. It need not even be a table. Some guests have chosen open shelves or wheel carts. Whatever floats your boat, make sure it’s a strong enough to support all your desserts and decor.
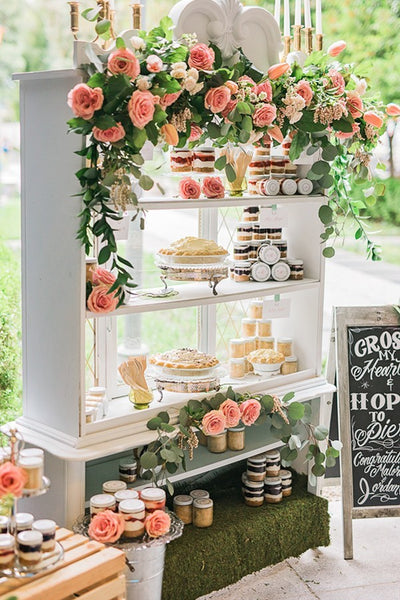
Add more decoration and ornaments to pull the overall look together! Your sweets could use cake toppers, patterned straws, or charming cake stands as decoration.
On top of that, try installing lanterns, wrapping fresh blooms, or hanging letter banners across your table.
Provide Bags or Boxes for Takeaway
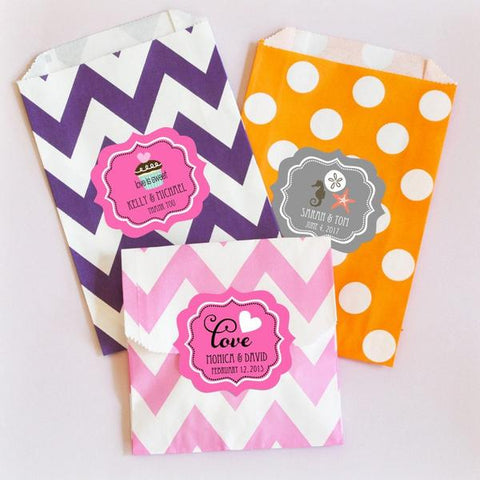
Personalized Goodie Bags ($8.50 - $10.90)
Your desserts can double as your wedding favors, which may well be a win-win for the couple and the guests. Who isn’t all for money-saving giveaways and sweet treats?
Leave a comment
Comments will be approved before showing up.

